
When you’re metal detecting on these historic sites, it’s important to do your homework first. Knowing the history of a location can boost your chances of finding something worthwhile. Research old battlefields and skirmish sites before heading out, and see if any specific areas are known for being hotspots for relics. The thrill of searching through the soil, anticipating the sound of your detector signaling a find, keeps many metal detectors hooked.
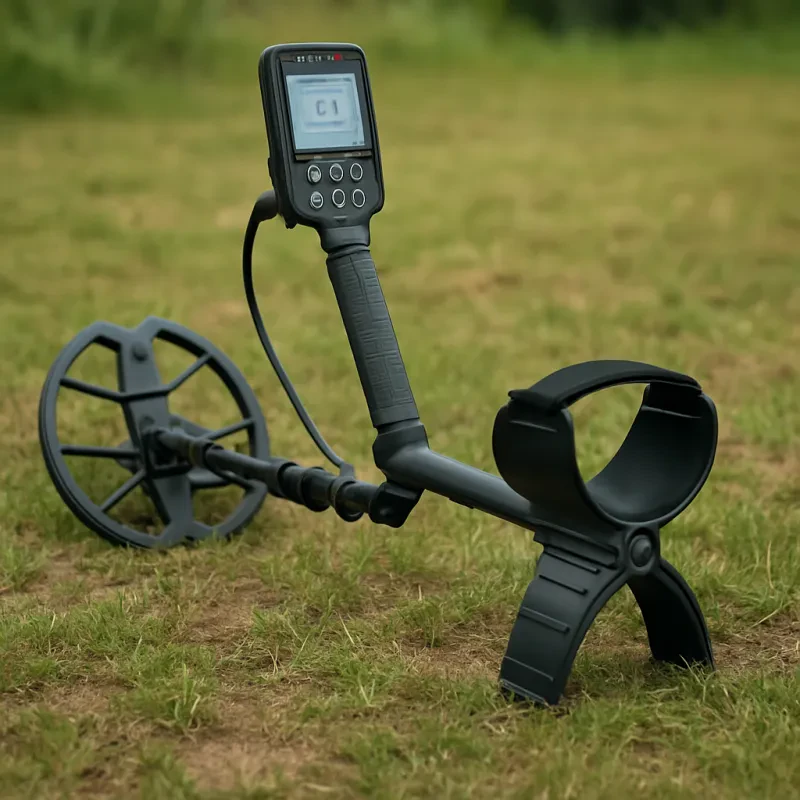
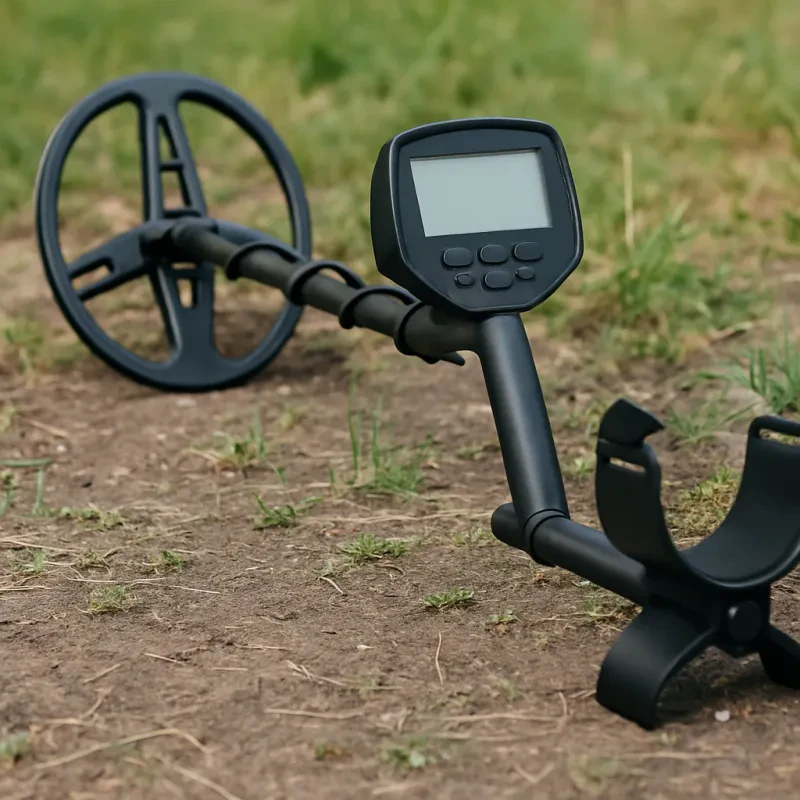
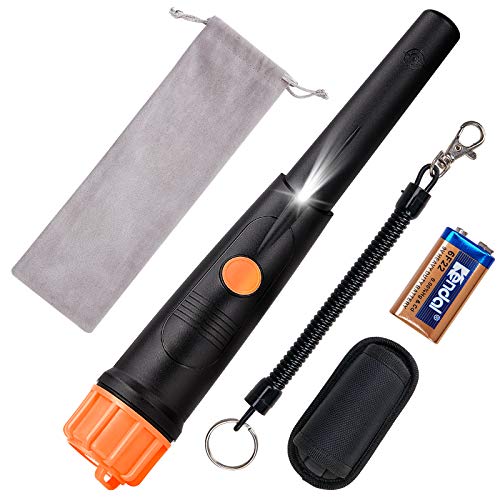
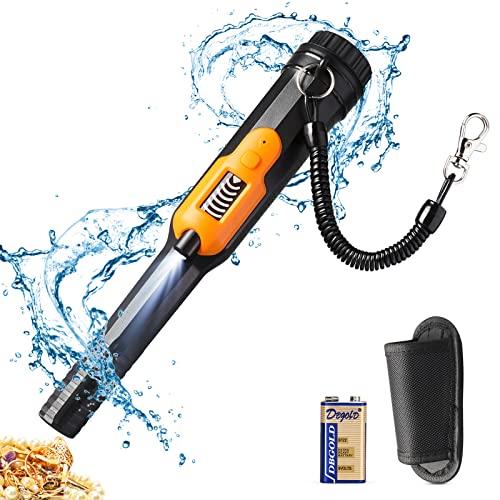
Make sure to use the right tools for the job. A pin pointer metal detector can really enhance your search. It helps you zero in on the exact spot where your main detector has indicated a find. This way, you save time and dig more efficiently. Plus, these little gadgets are super easy to use, which makes them a must-have for any serious treasure hunter.
Also, don’t forget to follow the rules! Always get permission if you’re searching on private property, and be mindful of local regulations regarding metal detecting on historic sites. Keeping things respectful ensures that places remain open for future adventurers. Embrace the thrill of the hunt and share your finds with your fellow metal detecting enthusiasts; there’s a whole community out there excited to hear about your discoveries!
What to Look for in Civil War Sites
When you’re diving into metal detecting at Civil War sites, knowing what to look for can make a big difference in your treasure hunting experience. These sites are rich in history and artifacts, so keeping your eyes peeled for certain markers can help you uncover some awesome finds.
First off, pay attention to the location of the site. Fields where battles occurred, old campsites, and even places where soldiers set up makeshift hospitals are prime spots. These areas often yield remnants like buttons, cartridges, and even coins. Always do your homework to find out exactly where these key locations were.
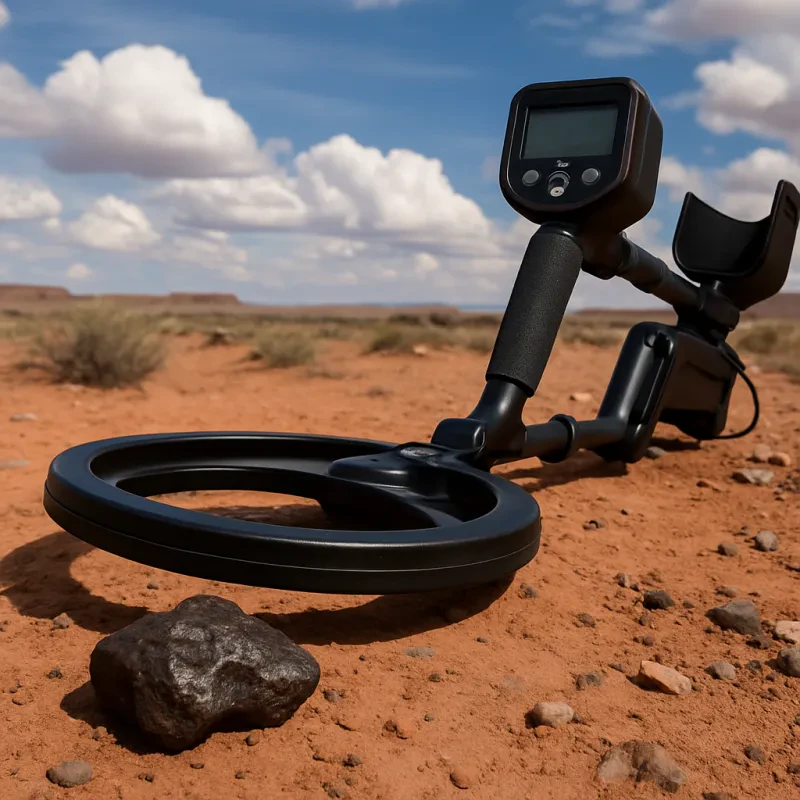
Next, consider the type of soil. Sandy or loamy soils are usually better for metal detecting since they’re easier to dig and may preserve items better than clay-heavy areas. You want that perfect combination where objects haven’t been buried too deep or neglected over time.
Don’t forget about the surrounding features, too. Streams, roads, and railroads played a significant role during the Civil War. These paths were vital for troop movement and supply transport, making them hotspots for finding artifacts. Make it a point to check out those nooks and crannies near these features.
Lastly, think about the time of year. After heavy rains, the ground can settle and shift, revealing items that were previously hidden. If you hit a site right after the rain, you might have a better chance at uncovering something amazing. So, grab your metal detector and keep these tips in mind while exploring!
Tips for Successful Metal Detecting
Metal detecting can be an exciting adventure, especially when you’re searching for treasures from Civil War sites. To make the most of your hunt, here are some practical tips to keep in mind.
First off, pick the right location. Research old battlefields, camps, and supply routes. These areas are rich in history and might just hold some amazing finds. Make sure to check local laws and get any necessary permissions before you start digging.
Next, familiarize yourself with your metal detector. Take some time to learn how it works. Most detectors have settings that let you adjust sensitivity and discrimination. Practice in your backyard or a local park before heading out to the big sites. Knowing how to use your gear will save you time and help you locate items faster.
When you’re out there, search systematically. Divide the area into sections and cover each one carefully. You want to avoid missing any treasures because you rushed through a spot. Use a small spade or a digging tool to carefully unearth items. Remember to refill any holes you dig; it's important to keep these historical sites looking good.
Finally, be patient and enjoy the journey. Metal detecting isn’t just about finding valuable items; it’s about the thrill of the hunt. Take your time, breathe in the fresh air, and soak up the history around you. Each beep from your detector could lead to a unique piece of the past that’s just waiting to be uncovered.
Restoring Your Treasures After the Hunt
So you’ve spent a thrilling day Metal Detecting, and now you’ve come home with some cool finds. But what’s next? Restoring those treasures can be just as exciting as the hunt itself! Here’s how to bring your historical discoveries back to life.
First things first, you’ll want to clean your items properly. For metal finds like coins or buttons, gently scrub them with a soft toothbrush and mild soap. Avoid harsh chemicals; you want to keep that original finish intact. Rinse them well and dab them dry! If you’re dealing with rusted items, using a rust remover or some vinegar can work wonders. Just be sure to monitor closely, as you don’t want to overdo it.
After cleaning, you might want to apply a protective coating. A light layer of mineral oil or a dedicated metal protectant can help prevent corrosion. This step is crucial, especially for items you plan to display or store long-term. It keeps them looking sharp and retains their historical value.
If your treasures are in really rough shape, you might consider professional restoration. There are specialists who can help if you find yourself facing a tricky situation. Do your research, and make sure to choose someone who has experience with the kind of items you’ve unearthed.
Finally, think about how you want to showcase your finds. Framing items or creating a shadow box can add a personal touch to your collection. Sharing these restored pieces with friends and fellow Metal Detecting enthusiasts can spark conversations about history and adventure.